Fall Tree
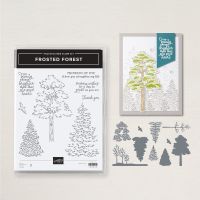
Frosted Forest is one of my favorite bundles, so many trees. I threw in a fun fold to add another layer of interest.
This card has a few steps but it's worth it. Let's start with the cutting instructions
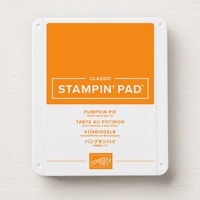
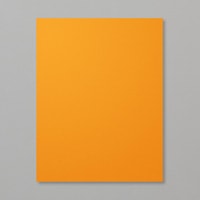
Pumpkin Pie - 5 1/2 x 8 1/2, scored at 3, 6 and 7, 1 1/4 x 2
Basic White - 5 1/4 x 2 3/4, 3 x 4 1/4
A Little Latte Designer Series Paper - 5 3/8 x 2 7/8, 5 1/8 x 7/8
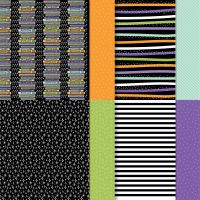
Halloween Spells Designer Series Paper - 6 x 3 1/4, score at 1 3/4
Assembly
Fold and burnish the Pumpkin Pie cardbase, adhere the Latte DSP to the two front layers of the cardbase. Adhere the Basic White piece on the inside of the cardbase.
Attach Tear N Tape to the underside top and bottom of the Halloween Spells DSP, adhere flush to the bottom of the cardbase, fold at the score line and attach to the back of the cardbase.
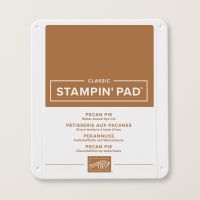
On the other piece of Basic White, stamp the tree trunk in Pecan Pie. Using washi tape, adhere to a grid paper or other paper.
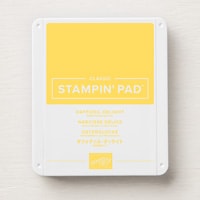
Place stencil 1, from the Frosted Forest Bundle; over the tree trunk and adhere to the grid paper with washi tape and make a mark on the grid paper at the top notch and on each side to give you alignment marks for the next stencils. Color the tree trunk.Remove and place stencil 2 over the tree, aligning the marks. Put down a layer of Daffodil Delight ink, then with the same stencil pat on some Pumpkin Pie highlights.
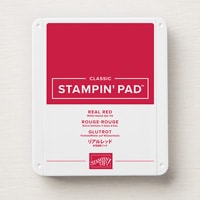
Remove stencil 2 and top with stencil 3 again matching the alignment marks. Tap on Real Red ink, some dark some light. Take the stencil off and look at the coloring, you can put stencil 2 back on and even out the color if needed.
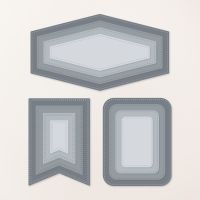
Die cut the Pumpkin Pie piece with the banner die. Stamp the sentiment in Pecan Pie ink and cover with Clear Embossing Powder and heat to set. Attach to the card front with Dimensionals. And poof you have a card!

Cindy











Comments
Post a Comment