Puzzle Front Card
I follow a Stampin' Up! Demo, Kayla Renee because her use of color and unique designs that inspire me. This card is a case of a recent blog post. The card has a lot of tiny measurements, you could make a simpler version easily; but I love the layers.
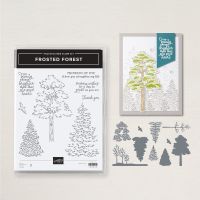
It is a center open card, here is the open view.In designing my card, I knew I wanted to use the Frosted Forest Stencils and had to select a Designer Series Paper that would look provide an accent. I picked a carryover paper Natures Sweetness, because of the gold tone and earthy look.
Cutting
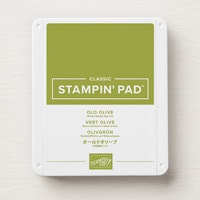
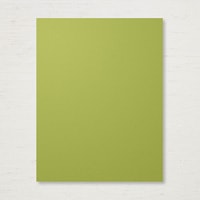
Old Olive: 4 1/4 x 9 1/2, score at 1 & 2 inches form each end, (2) 3 1/8 x 2, (2) 2 1/8 x 2
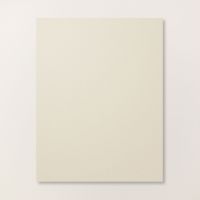
Basic Beige: 5 1/2 x 4 1/4, then cut down the middle the long way at 2 1/8, then cut each piece at 3 1/4. ** insert picture
Designer Series Paper Pattern 1: (2) 3 x 1 7/8
Designer Series Paper Pattern 2: (2) 2 x 1 7/8
Designer Series Paper Pattern 3: I used the reverse of Pattern 1, 3/4 x 5 1/4
Basic White: 5 1/4 x 4, 3 x 4 3/4
Very Vanilla: 3 x 3, scrap for sentiment
Assembly
Fold and burnish the score lines on the large Old Olive cardstock. Attach the Basic White inside layer and top with the strip of Designer Series Paper.
Adhere all the Designer Series Paper to the Old Olive and then Basic Beige.
Ahere the layer to the Old Olive base, keeping side, top and bottom even with the card base.
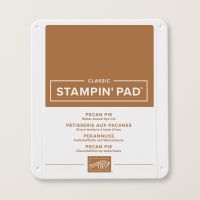
Stamp the tree from Frosted Forest in Memento Tuxedo Black ink. Secure the stamped image to your work surface with washi tape/sticky notes. Next lay Frosted Forest stencil 1 over the stamped image, matching the tree trunk/branches, use the blending brush to color the notch area at the top left of the stencil, this will help you align the stencils as you use them. Attach the stencil with washi tape/sticky notes to your work surface. Use a blending brush and Pecan Pie ink to color the area. Carefully remove the stencil and washi tape. Use stencil 2 to fill in the tree leaves, matching the notch, then coloring with Granny Apple Green ink, I varied the darkness of the coloring to help it look more like a real tree. Remove stencil 2 and replace with stencil 3, coloring in with Old Olive ink. Die cut the tree out, on the scraps of Basic White stamp 2 birds, you can either fussy cut them or use the matching die.
Use the Pecan Pie Blending Brush to edge the Everyday Details circle. Attach to the right side of the card, with Dimensionals, checking to assure the card will open. Top the circle with the tree and birds. Stamp a sentiment in Pecan Pie and adhere to the card.
This card in work intensive but what a WOW look.
Have a great day
Cindy
Product List








Comments
Post a Comment