First Pumpkin Patch of the Season
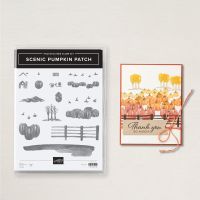
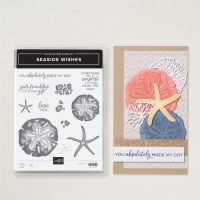
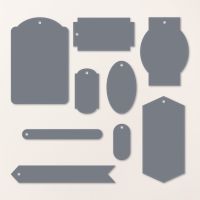
At my recent monthly open house, I featured a lot of July Online Exclusive products. The first being Scenic Pumpkin Patch. The stamped images will let you create your own Patch. You can also use the Trucking Along (162299) stamp set to add a cute truck to your scene. To start the sentiment label, I selected Greetings of the Season dies and the Seaside Wishes stamp set.
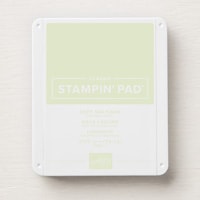
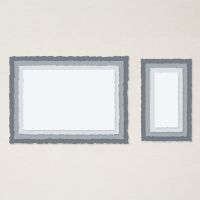
- To recreate the card, die cut the largest Deckle Rectangle, biggest label and oval label from Very Vanilla Cardstock. Ink up the "grass" stamp in Soft Seafoam ink and stamp the lower edges of the rectangle and big label
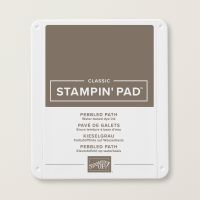
- Using Pebbled Path ink, stamp the fence, try to get it to sit on the grass, not above it, and dotty spots on the rectangle and on the large label sides above the grass.
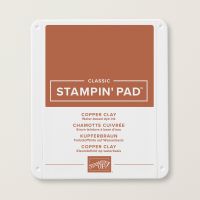
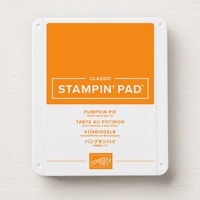
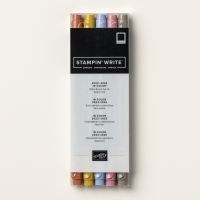
- Ink up the pumpkins in Pumpkin Pie and touch the bottoms and sides of the stamp with the Copper Clay Stampin' Write Marker to create a shady look. Set them in the grass. Do the same with the single pumpkin and stamp it on the lower end of the oval label.
- With Copper Clay in stamp the pumpkin stems, sentiment (close to the pumpkins) and the leaf flourish on the single pumpkin.
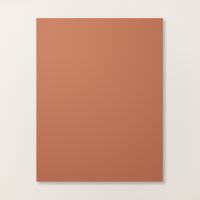
- Adhere the stamps rectangle piece to the Copper Clay card base.
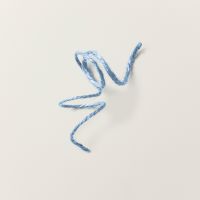
- Cut a 6 piece of the Copper Clay Jute and tie the large and oval label together, attach to the card base with dimensionals, I liked it tilted a little. I attached the oval label down to keep it from shifting over the sentiment.
- Lastly, I frayed the jute fiber and trimmed it up and added a piece of Very Vanilla to the inside.
Cutting
Copper Clay: 8 1/2 x 5 1/2, score at 4 1/4
Very Vanilla: 5 1/4 x 4 (inside), 5 1/2 x 4 1/4 (rectangle die) 2 3/4 x 5 (label dies)
I hope you enjoy this card
Cindy






Comments
Post a Comment