Thankful Garden Fun Fold
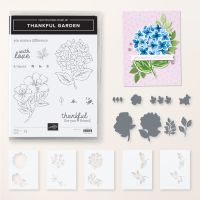
More beautiful flowers added to our stash of stamps! For me, the Thankful Garden Collection is a huge hit in the March Online Exclusives. I like coloring the flower images using the masks, that are part of the collection. 
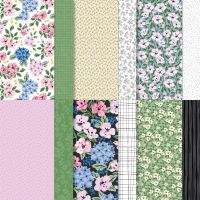
Creating the open frame for the card is simple, just some cutting of some small pieces of Designer Series Paper.
Have some fun and create your own flower bed.
Cutting
Basic White Thick - 5 1/2 x 4 1/4, score at 3/4 inch on both sides, (2) 5 3/4 x 1 1/2, score at 3/4 and 1 1/2 on each side
Basic White - 3 1/4 x 4 1/4, 3 1/2 x 1 1/4
Designer Series Paper 1 - 5 1/4 x 2 5/8
Designer Series Paper 2 - (4) 1 x 5/16, (2) 1 x 2 9/16
Assembly
- Score and burnish card base and strips. Adhere DSP 1 to the center of the card base. Adhere DSP 2 pieces to the strips, leaving the outside scored area bare. Adhere the bare areas to the outside of the card base.
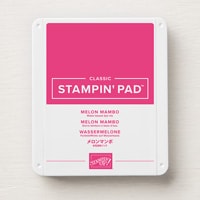
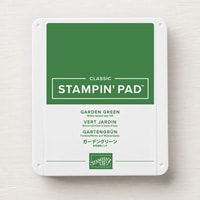
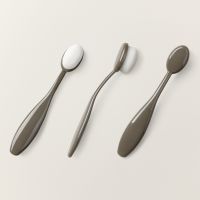
- Stamp the flower in Tuxedo Black and secure on a piece of grid paper. Take Mask 1 and center it on the image, making a tick mark on the notch near the mask number and around the mask, to assure the next masks cover the same areas. Using a Blending Brush fill in the open area on the mask lightly with Melon Mambo ink. Remove this mask and do the same with Mask 2 & 3, darkening the color each time. Switch to Garden Green ink and Masks 4 & 5 to color the leaves.
- Die cut the flower image and a set of leaves from Garden Green cardstock.
- Attach the leaves to the floral die cut. Attach the entire piece at the top and bottom strips.
- Stamp a sentiment and attach to the strip.
- Fold the card out to display, it does fold flat for mailing.
Happy Stamping!
Cindy Loen
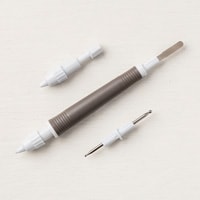
To help you find the items I have used on this project, you can click on the image or name and you will be directed to my Online Store!







Comments
Post a Comment